Saturday, July 14, 2012

Adding some firewall framework and stuff

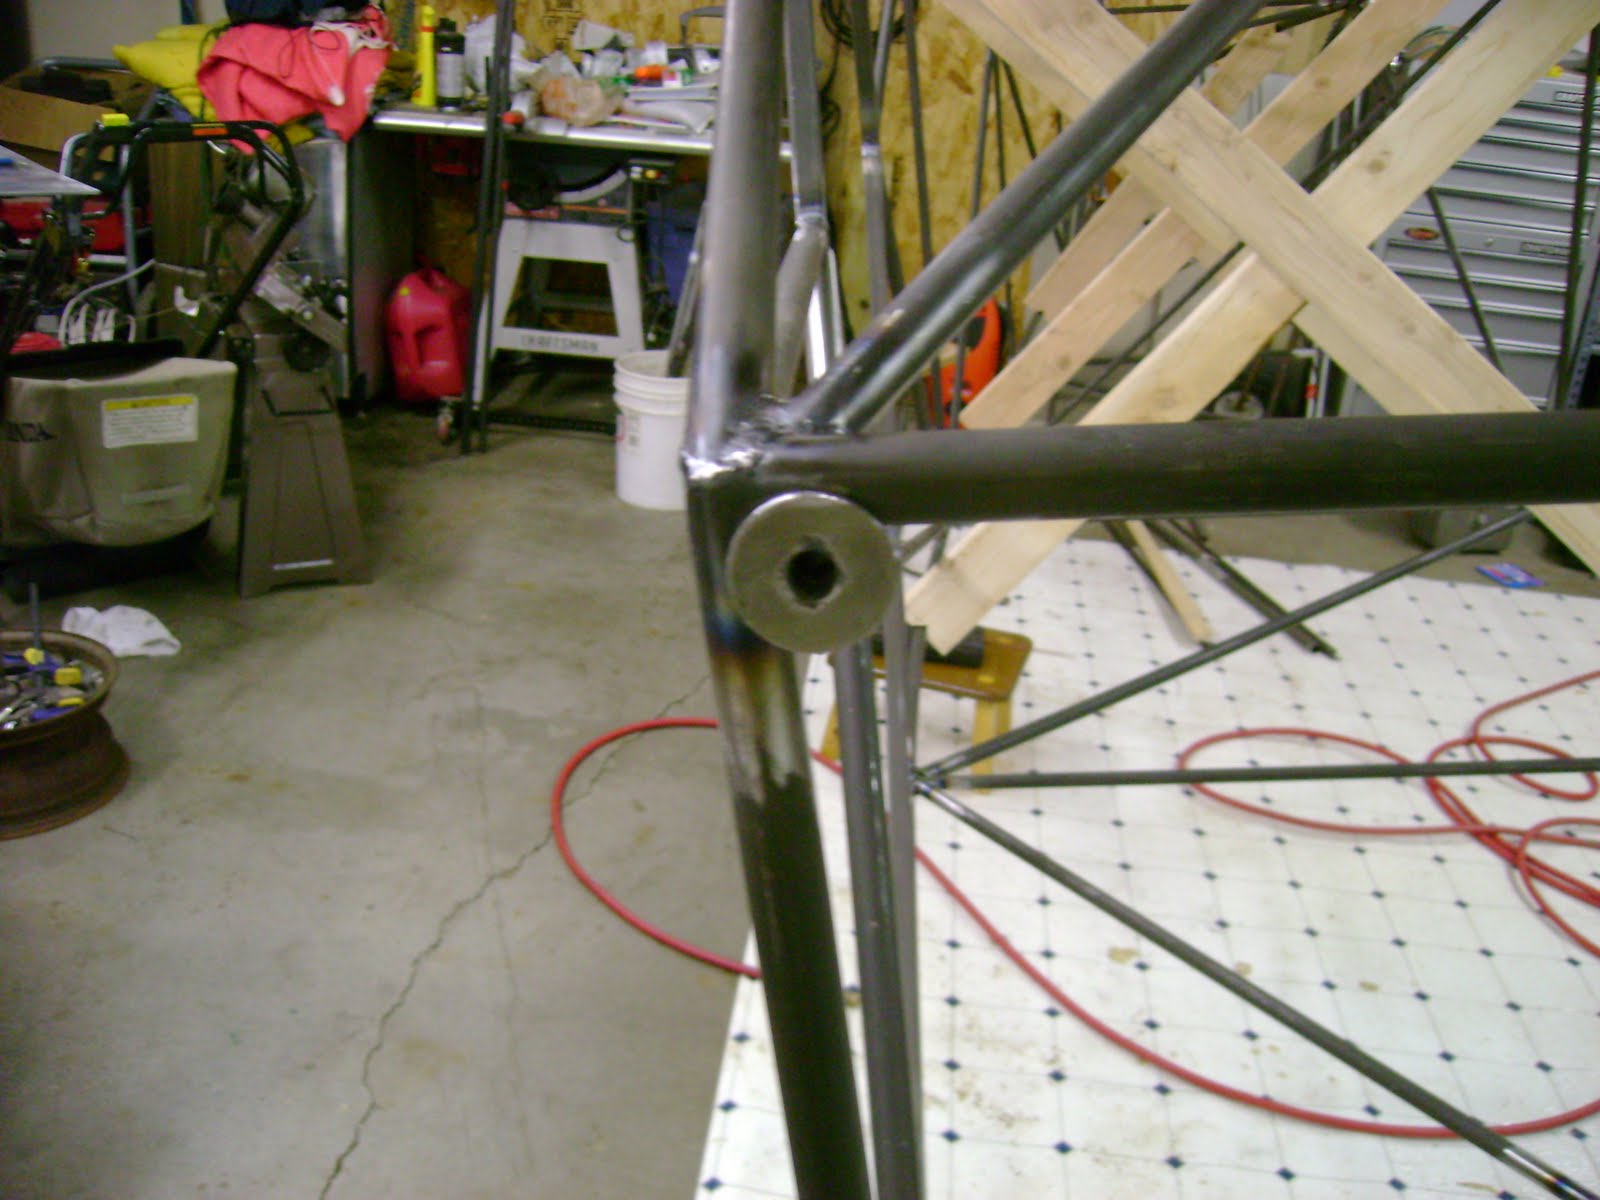
So to eliminate the square area of the forward fuselage at the firewall, I needed to add some framework to the front of the airplane to give it more "shape".  At the bottom this will allow clearance for the exhaust to clear out of the fuselage and not be hanging out in the breeze.  It creates a "tunnel" in this regard.  At the top of the firewall area I added a curved piece of steel to give a slightly rounded or curved shape to the front.  This will allow the cowling to fit better, and overall look a little better than just being a box. I also had to finish building the landing gear mount for the the front of the plane and eventually a motor mount. After completing this I worked on creating a firewall out of some stainless steel.


Sunday, June 24, 2012

Some doors and sheet metal.

I decided to work on creating some doors for the project.  As long as I was working on this I might as well build some of the aluminum sheet metal boot cowling and rear window framework.  This will all have to be attached somehow so I had to make some tabs to weld on.  I also had ordered some of the vents from Vans Aircraft that I will place on either side of the boot cowl just ahead of the door which will allow fresh air in the cabin.  I built the doors out of square aluminum tube, made the hinges from some eyebolts that a friend of mine (Alex Frizzel) gave to me since he had some extra and is what many other tailwind builders use as hinges for the doors, and skinned everything with 6061 aluminum from the local metal supplier.


Saturday, April 21, 2012

Working on the wings.

So the unfinished wings did not have any sort of wing tips.  If I was going to have to build a wing tip for them, I may as well have the newer style W10 tips on them I think.  This required me having to remove one rib from the outboard tip to gain access to the spar to be able to extend the spar some for the tips to be added.  I then built them back up out of wood as they are done on the W10 wings that I built for my other project.  Strangely enough, maybe not, the ailerons and flaps for these wings were built, but not to the plans for a W8 and definitely not for a W10, so they also require some modification as well.  I had to shorten the overall span of them which required moving some of the ribs in the flap portion which also shortened them flaps back to the normal length called out in the plans.


Saturday, April 7, 2012

No posting in a long time!

So for anyone that happens upon this site, life has taken me in several sidetracks.  In June of 2011 I bought a project W8 airplane.  It was a fully welded fuselage, many components to complete an airplane, some unfinished wings, but was far from complete.  I got this airplane home and started working on getting things in order.  The airplane had never flown, the welds and workmanship up to this point looked good but needed finishing to get this airplane done.  I have a backlog of information that I need to place here and will try to do so over the next several days.  I have photos of the work that I have added to the project as well as some of my boring commentary.  I still have the W10 project that I started and will someday complete, but since this one is now an iron in the fire I will work on it first and learn some more about putting an airplane together. 


Wednesday, June 22, 2011

Sheeting Wings


Nothing special here and not a lot to say about it. The pictures pretty much speak for themselves. Just make sure that the wings are level with no twist in them when you start sheeting them. The only other thing that I will say is that i abandoned the idea of putting fuel in the wings and opted for the fuselage tank only.

Tail


This was pretty straight forward. Nothing too difficult here just more of the same. Started by making the horizontal stabilizer mounting spar. Then I made sure the fuselage was completely level and welded this tube into its location making sure that it was level and that it was square to the fuselage. Then I made the receiver tubes for both sides of the horizontal stabilizer halves and I also made the one for the vertical stabilizer since it is similar in construction. I placed the two stabilizer receiver tubes on the spar and started fitting all of the tube framework into position according to the measurements from the plans.

Landing Gear Mount


Landing Gear Mount/Engine Mount
I started this by making a board/jig from the fuselage firewall area. I clamped the board in place marking the outline of the fuselage and drilled the holes in each corner from the mounting locations. I measured out the thrust center line for the airplane and located it on the board/jig so that I can use it later to locate the engine mount and get the engine center line correct.
Once the holes were drilled and measurements were made I mounted the washer/tube (mates for the fuselage mounts made up of 1/2" black steel flat washers) to the board with 3/8" bolts. Then I fitted the two vertical tubes that make up the left and right sides of the mount. I temporarily mounted these to the fuselage to align the landing gear mount tubes. To get the correct alignment for the landing gear I located the area on the floor of the garage measured back to the centerline of axle. Then I centered a piece of 2x2 steel angle over these marks on both sides of the fuselage on the floor. Once this was done and the angle was temporarily secured to the floor, I placed the axle end of the gear legs and receiver tubes and located them in the angle. I placed shims on the backside outer most point on each axle to provide the correct amount of toe in and shims under the inner most portion of the axle to provide the correct camber. Once all of this was measured and secured the fuselage was double checked for level and the tubes were tack welded in this position. Then I fitted the left and right diagonal tubes into position and securely tacked them into place. Then I removed the what was now just a left and right side of the soon to be Gear/Engine mount from the fuselage and moved back to the jig board. Once these were bolted back to the board/jig I fitted the horizontal tubes that run between the two landing gear tubes and tacked them into position. Once I was satisfied that everything was straight, squared and securely tacked into position I started the process of welding everything up. I am missing a few photos of the entire process and the completed mount that is now in storage but provided the photos that I have to give the idea of the mount. Before anyone says hey you are missing the diagonal tube at the bottom between the gear, I know that it is missing in the photo but is there in all actuality, on the fuselage, in storage?